
Can I Staple Down My Gym Turf? What You Need To Know
So, can you staple down your gym turf? The simple answer is no, not really. While you can put staples into almost anything, stapling is almost never the right way to install gym turf. It can damage the turf, won’t hold well in most subfloors, and can even create safety problems. There are much better and safer ways to secure gym flooring. This post will tell you why stapling isn’t good and show you the right ways to install gym turf, covering different gym turf installation methods that work much better.
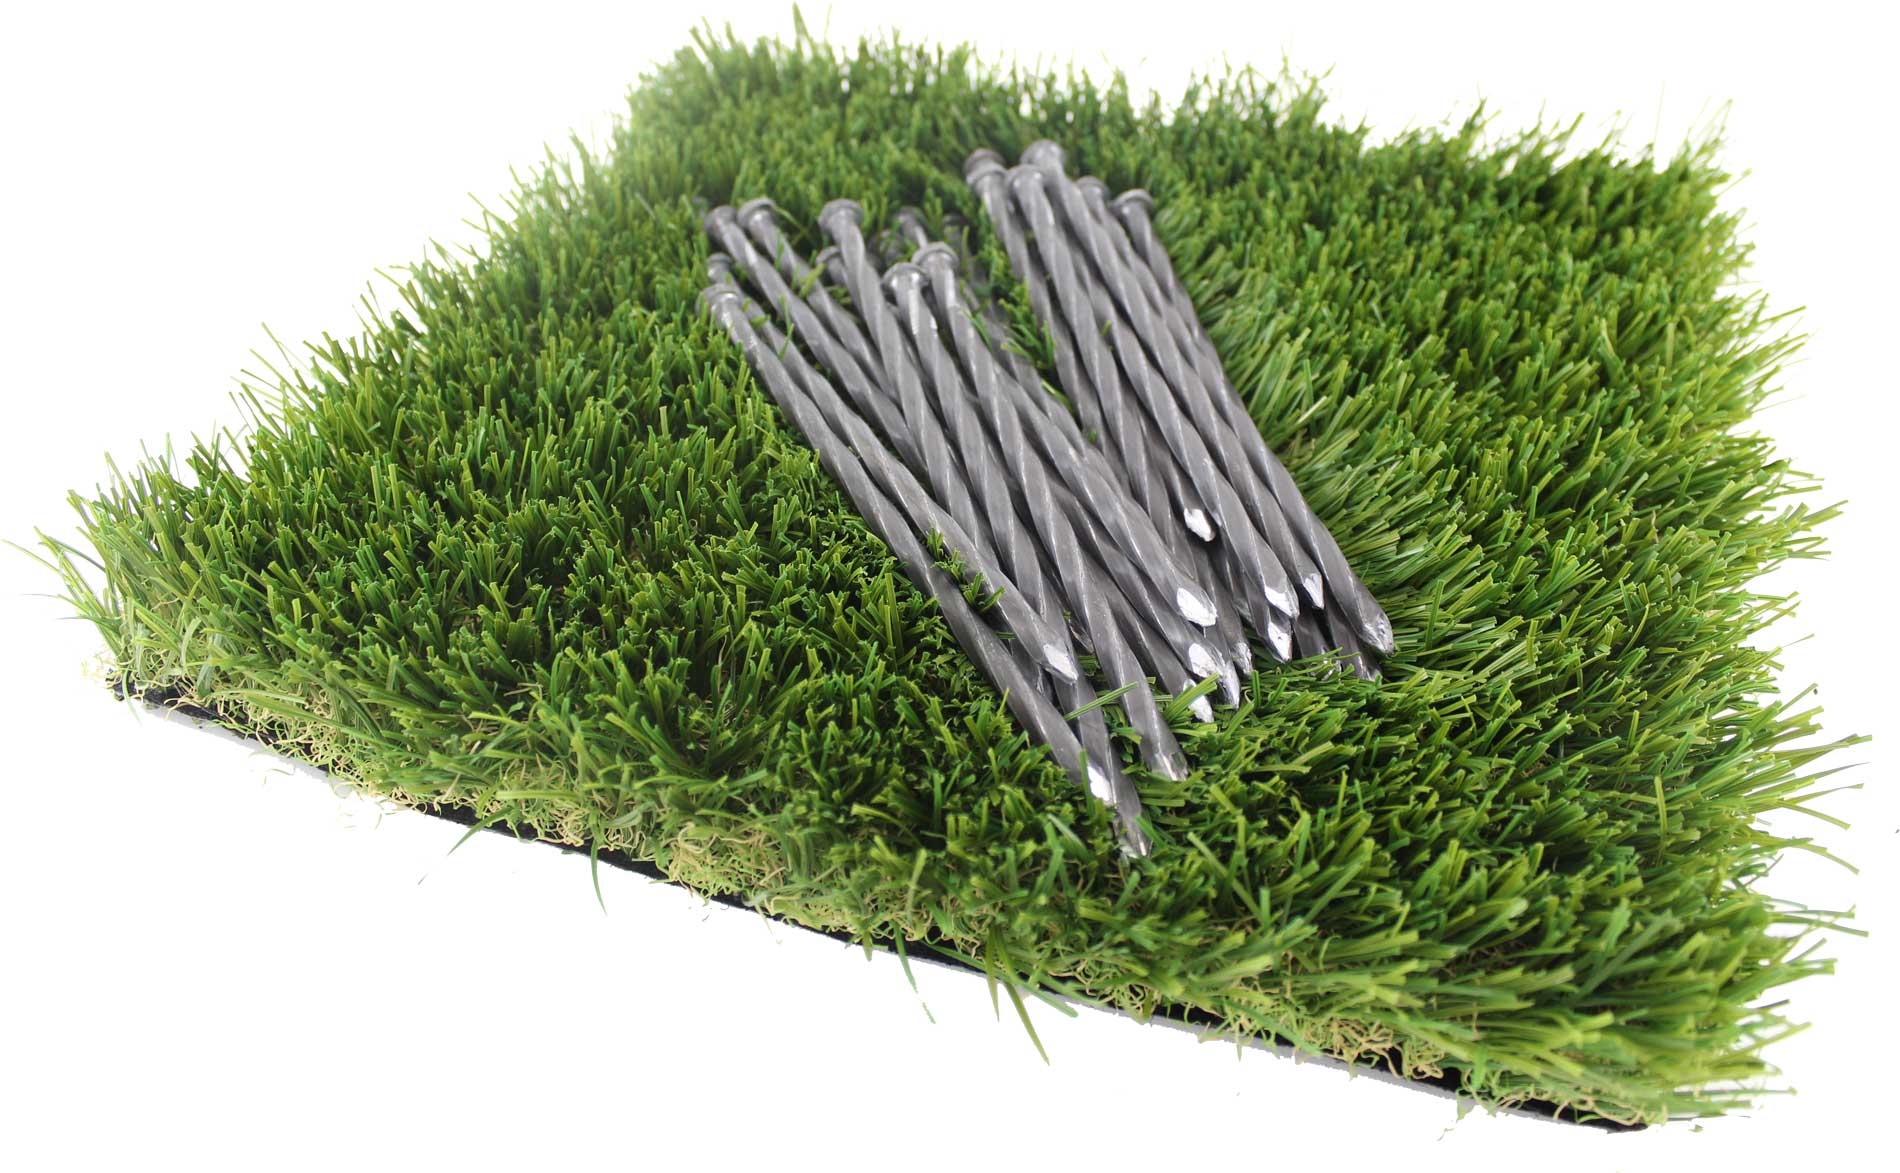
Image Source: premiumgrassblades.com
Why Stapling Seems Easy (But Isn’t Good)
It might seem quick and simple to just grab a staple gun and staple the turf edges. You might think it’s cheaper than glue or special tape. For thin fabrics or paper, staples work fine. But gym turf is heavy and gets a lot of use. People drop weights, run, jump, and drag things on it. Staples just aren’t strong enough to hold up under that kind of stress. They also don’t work well with common gym subfloors like concrete.
Problems with Using Staples for Gym Turf
Using staples to put down your gym turf causes several problems. These issues make it a bad idea for almost all gym setups.
Damaging the Turf Material
Staples poke holes right through the backing of the turf. This can weaken the turf roll itself. Over time, the material around the staples can rip or fray. This makes your nice new turf look bad quickly. It can also make the turf fall apart in places.
Staples Don’t Hold Well
Most gym floors are concrete. Staples are not made to go into concrete and stay there. Even if you use a powerful staple gun, the staples will likely just bend or bounce off. If your subfloor is wood, staples might go in, but wood floors can shift a little. The staples can work their way loose. They just don’t provide a strong, lasting hold needed for busy gym areas.
Creating Safety Risks
Loose staples are sharp. If a staple comes even halfway out, it’s a risk. Someone could trip on it. The sharp point could cut skin or damage shoes. This is a major concern in a place where people are moving fast and often not wearing heavy shoes. Proper gym turf installation methods focus on keeping the surface smooth and safe.
Making Your Warranty Useless
Many gym turf makers have rules about how you must install their product. Using staples is usually not one of the approved ways. If you staple the turf and something goes wrong with it later, the company might not fix it under warranty. You could lose the money you spent on the turf itself. Always check the manufacturer’s guide.
Looks Bad and Unfinished
A stapled turf floor often looks messy. You might see bumps where staples are or places where the turf isn’t lying flat. The edges might not be smooth. This gives your gym a look that isn’t professional or clean. Securing synthetic grass indoors should make the space better, not worse.
Proper Gym Turf Installation Methods
Instead of stapling, there are proven ways to put down gym turf. These methods make the turf safe, flat, and long-lasting. The Best way to install gym turf depends on the type of turf, the subfloor, and how the area will be used. Here are the main ways people install artificial turf indoors.
Full Adhesion (Using Glue)
This is often seen as the most secure method. It involves spreading special glue over the entire subfloor area where the turf will go. The turf is then laid into the wet glue.
- How it works: You use a trowel to spread a layer of adhesive on the clean floor. The turf is rolled out carefully onto the glue. You use rollers to press the turf down and make sure it sticks everywhere.
- Good for: High-traffic areas, places where heavy weights are dropped, areas that need a very stable floor. Installing gym turf on concrete often uses this method.
- Needs: A clean, smooth, dry subfloor. The right kind of gym turf adhesive. Special tools like a trowel and floor roller.
- Pros: Very strong hold, prevents movement, makes the floor very stable. Great for Securing gym flooring permanently.
- Cons: Can be messy. Hard to remove or change later. Takes time for the glue to dry.
Perimeter Adhesion (Glue Just on Edges)
This method uses glue, but only around the edges of the turf area and along the seams where rolls meet.
- How it works: Glue is applied with a trowel or from a tube around the outside edges of the space. Glue is also put on seam tape where two pieces of turf join. The turf is laid down and pressed into the glue on the edges and seams.
- Good for: Larger areas where full glue might be too much work or expense. Areas where the turf rolls are heavy enough to stay mostly in place on their own.
- Needs: A clean subfloor. The right glue. Seam tape if using multiple rolls.
- Pros: Uses less glue than full adhesion. Still provides good stability, especially at edges and seams. Easier to change later than full glue. Good for Fastening gym floor mats or turf rolls.
- Cons: Not as strong as full glue in the middle of the floor. Heavy use could cause movement in the center if the turf isn’t heavy enough.
Using Double-Sided Tape
Strong, double-sided tape is another way to secure gym flooring. It’s often used for perimeter hold or to join seams.
- How it works: Special heavy-duty, often sticky tape is stuck to the clean subfloor around the edges of the area. The backing is peeled off, and the turf is carefully laid onto the tape, pressing down firmly. Tape can also be used along seams.
- Good for: Smaller areas. Places where you might want to remove the turf later. On subfloors where glue might be an issue.
- Needs: A very clean, dry subfloor. High-quality Double-sided tape for gym turf.
- Pros: Much less messy than glue. Can be quicker to install. Easier to remove or adjust later. Securing synthetic grass indoors with tape is less permanent.
- Cons: Not as strong as glue for very heavy use or dropping weights. Tape might lose stickiness over time in some conditions (like high humidity). The floor must be very clean for the tape to stick well.
Loose Lay (Just Laying it Down)
For very heavy gym turf rolls or thick mats, sometimes you don’t need much to hold them. Their own weight keeps them in place.
- How it works: The heavy turf rolls or mats are simply unrolled or placed in the correct spot. Their weight holds them down. Edges might be held with a small amount of tape or glue if needed.
- Good for: Very heavy turf (often 8mm thick or more). Small, contained areas. Temporary setups.
- Needs: Heavy turf rolls or mats. A flat subfloor.
- Pros: Very easy and fast installation. Easiest to remove or move. Good for Fastening gym floor mats that are thick and heavy.
- Cons: Can shift or move with heavy use. Seams might separate. Not suitable for all turf types or all activities.
Interlocking Tiles
Some gym flooring comes as tiles that connect together, like puzzle pieces. These often don’t need glue or tape.
- How it works: Tiles are laid down and locked together using their edges. The weight of the connected tiles keeps the floor in place.
- Good for: Areas where you want an easy install. Spaces that might change layout later. Often used for rubber or foam mats, but some turf tiles exist.
- Needs: The interlocking tiles themselves. A flat subfloor.
- Pros: Very easy to install and remove. Can replace single damaged tiles. Portable. Great for Fastening gym floor mats in tile form.
- Cons: Seams are visible. Can sometimes come apart with specific movements. Not always available in all turf styles.
Diving Deeper into Securing Methods
Let’s look closer at the most common and effective ways to secure gym flooring: adhesive and tape.
Comprehending Gym Turf Adhesive
Gym turf adhesive is not just any glue. It’s made to stick turf to different subfloors and handle the stress of gym use.
- Types of Adhesives:
- Urethane Adhesives: These are common for turf. They stay a little flexible after drying, which is good for turf movement. They stick well to concrete and wood. Many are resistant to water once dry.
- Epoxy Adhesives: These are very strong and rigid. They provide a super firm hold. They are usually two-part systems mixed before use. They are very durable but less flexible than urethane.
- Specialty Turf Glues: Some companies make glues just for artificial turf. These are designed to work with the specific turf backing and common subfloors.
- Surface Prep is Key: Before using glue, the subfloor must be clean. This means no dust, dirt, grease, paint, or old adhesives. It needs to be dry. Moisture can stop glue from sticking or cause problems later. The floor should also be as flat and smooth as possible. Dips or bumps can show through the turf or cause the glue not to stick evenly.
- Putting the Glue Down: You typically use a notched trowel. The notches leave lines of glue. This helps control how much glue is used and allows air out as the turf is laid. The size of the notches matters and is usually listed on the glue container.
- Working with Glue: You can only put glue on a section at a time because it starts to dry. You need to lay the turf while the glue is still wet enough to stick. This is called ‘open time’.
- Installing Gym Turf on Concrete: Concrete is a common subfloor for gyms. Glue sticks well to concrete if it’s clean, dry, and sealed properly (sometimes a primer is needed on concrete). Moisture rising from the concrete can be an issue, so checking for moisture is important before gluing to concrete.
Table: Pros and Cons of Gym Turf Adhesives
| Feature | Pros | Cons |
|---|---|---|
| Hold | Very strong, long-lasting | Hard to remove |
| Stability | Prevents almost all movement | Requires careful subfloor prep |
| Durability | Withstands heavy use and weights | Can be affected by moisture if not right type |
| Install | Provides a very flat, secure floor | Messier, requires tools (trowel, roller) |
| Removal/Change | Very difficult and time-consuming to remove | Not good if you plan to move the turf |
Using the right gym turf adhesive is a main part of the Best way to install gym turf for a permanent setup.
Comprehending Double-Sided Tape for Gym Turf
Tape offers a less permanent way of Securing gym flooring. It’s a good choice for some situations.
- Types of Tape: Not just any tape will work. You need heavy-duty, very sticky tape made for flooring or outdoor use. Look for tape that resists moisture and changes in temperature. Some tapes are fiber-reinforced for extra strength.
- Where to Use Tape: Tape is usually used around the edges of the room or the turf area. It’s also very useful for taping seams between two rolls of turf. You might use a few strips in the middle of the roll for extra hold, but taping the whole area like full glue isn’t typical or cost-effective.
- Surface Prep: Just like with glue, the subfloor must be very clean and dry. Dust, dirt, or grease will stop the tape from sticking. The floor should be smooth so the tape lies flat.
- Putting the Tape Down: Roll the tape onto the clean floor where you want the turf to stick (edges, seams). Press it down firmly. Then, peel off the backing paper to expose the sticky top side.
- Laying the Turf: Carefully position the turf roll or tile over the tape. Lower it down and press firmly onto the tape. Walk over the taped areas to help the turf stick well.
Table: Pros and Cons of Double-Sided Tape for Gym Turf
| Feature | Pros | Cons |
|---|---|---|
| Hold | Good for edges and seams | Not as strong as glue for full coverage |
| Stability | Prevents edges/seams from lifting | Turf might shift slightly in the center |
| Durability | Holds up well if applied correctly | Can lose stickiness over time or with moisture |
| Install | Much cleaner and faster than glue | Requires a very clean floor to stick well |
| Removal/Change | Relatively easy to remove or replace | Not ideal for areas with heavy drag or push |
Using Double-sided tape for gym turf is a popular method for Installing artificial turf indoors, especially when a permanent bond isn’t needed. It’s a good example of Alternatives to stapling gym turf that are much more effective and safe.
Alternatives to Stapling Gym Turf Explained Further
Let’s be very clear: the proper methods like glue, tape, weight, and interlocking tiles are the real Alternatives to stapling gym turf. They solve the problems that stapling creates.
- Why Glue is Better: It creates a full, strong bond with the subfloor. It holds the entire turf surface down, not just poked points on the edges. It makes the floor stable and safe for heavy use. This is key for How to secure gym flooring effectively.
- Why Tape is Better: While less permanent than glue, good double-sided tape provides a secure hold along edges and seams. It doesn’t damage the turf and keeps the most likely problem areas (edges) from lifting. Securing synthetic grass indoors with tape is practical and safe.
- Why Weight is Better: For thick, heavy turf, the weight itself is a constant, even force holding the turf down. Staples are just tiny points trying to fight the turf’s weight and movement. Fastening gym floor mats often relies purely on their weight.
- Why Interlocking Tiles are Better: These pieces lock together to form a single large mat. The locked connection is much stronger and safer than individual staples. They stay in place as a unit. They are great for Fastening gym floor mats that come in tile form.
These methods provide real security. Stapling does not. They are designed for floor coverings under stress. Staples are not.
Grasping the Indoor Turf Installation Process
Putting in artificial turf indoors, whether it’s in a home gym or a commercial space, follows general steps. This process uses proper gym turf installation methods.
- Plan and Measure: Figure out the space where the turf will go. Draw a layout. Measure carefully to know how much turf you need. Remember which way the turf fibers lay (the grain) and plan to lay all pieces the same way for the best look.
- Prepare the Subfloor: This is super important. The floor must be clean, dry, and flat. Sweep, vacuum, and maybe mop. Remove old flooring, paint, or glue. Fill cracks or level bumps if needed. A clean, dry subfloor is needed for glue or tape to stick. This is key for Installing gym turf on concrete or wood.
- Get the Turf Ready: Unroll the turf and let it sit for a day or two. This helps it relax and lay flat. Cut the turf rolls roughly to size, leaving a little extra on the edges.
- Lay Out the Turf: Place the turf pieces in the planned spots. Make sure the grain of the turf is going the same direction for all pieces. Line up the edges where seams will be.
- Make Your Cuts: Trim the turf neatly to fit walls, poles, or odd shapes. A sharp utility knife is best. Cut from the back side of the turf. Take your time for straight, clean cuts.
- Apply Securing Method: Now you use the chosen method:
- Glue: Fold back a section of turf. Spread glue evenly with a trowel on the exposed subfloor. Fold the turf back into the glue and press down. Repeat for sections.
- Tape: Lay tape on the subfloor around the edges and along planned seams. Press tape down firmly. Peel off the backing. Carefully lay the turf onto the tape and press down.
- Loose Lay: If using this method, the turf is already laid out. You might add a little tape at edges if needed.
- Work the Seams: If you have multiple pieces of turf, the seams need care. For glued seams, use seam tape and glue. For taped seams, make sure the turf edges meet perfectly over the tape. Press seams down firmly. Use a seam roller if you have one. Good seams make the floor look like one piece.
- Trim Final Edges: Once the main part is secured, do final trimming along walls or obstacles for a clean finish.
- Add Infill (Usually Not Needed Indoors): Some outdoor artificial turf uses sand or rubber infill. This is rarely used indoors for gym turf, especially thinner types. It can make the floor messy. Thicker, denser turf often doesn’t need infill.
- Clean Up: Remove any glue, tape backing, or turf scraps. Clean tools.
Following these steps using proper gym turf installation methods ensures your floor is put down right. It shows How to secure gym flooring for safety and looks. This is the Best way to install gym turf.
Deciphering Subfloor Considerations
The floor underneath your turf matters a lot when deciding How to secure gym flooring.
- Installing Gym Turf on Concrete: Concrete is hard and non-moving, which is good. But it can hold moisture or not be perfectly flat.
- Moisture: Concrete can let moisture from the ground come up (moisture vapor). This can stop glue from sticking or cause mold later. You might need to do a moisture test (like the calcium chloride test) before gluing. A moisture barrier or special glue might be needed.
- Flatness: Concrete floors might have dips or cracks. These need to be filled and leveled before installing turf with glue or tape.
- Cleaning: Concrete is often dusty or might have old sealers or paint. It needs serious cleaning or even grinding to get a good surface for adhesive or tape.
- Method: Glue (full or perimeter) is a very common and good method for Installing gym turf on concrete. Tape can also work if the concrete is smooth and dry.
- Installing on Wood Subfloors: Wood (like plywood or OSB) is softer than concrete.
- Movement: Wood can expand or shrink a little with changes in heat or moisture. This can stress adhesives or make tape loosen.
- Fasteners: Staples can go into wood, but as discussed, they don’t hold turf well and are unsafe. Screws are sometimes used for very thick mats but are not common for turf rolls.
- Method: Glue (urethane glues often work well with wood) or tape can be used. Make sure the wood floor is solid and doesn’t have bouncy spots.
- Installing Over Existing Floors (Tile, Vinyl, etc.): Sometimes turf is put over an existing floor.
- Surface: The existing floor must be clean, fully stuck down, and in good shape. Loose tiles or peeling vinyl need fixing or removal first.
- Method: Glue or tape can work, but you need to make sure the adhesive or tape will stick to the existing floor surface material.
Thinking about your subfloor helps you choose the Best way to install gym turf and makes sure it lasts.
The Importance of Proper Fastening
Fastening gym floor mats and turf correctly isn’t just about making it look good. It’s about safety, how long the floor lasts, and protecting your money.
- Safety First: A floor that is not properly secured can move, ripple, or lift at the edges. This is a serious trip hazard. Dropping weights on loose turf can cause it to bunch up or tear. Proper fastening keeps the surface flat and stable, making it safe for workouts. How to secure gym flooring correctly directly impacts user safety.
- Floor Lifespan: When turf moves, it creates wear and tear on the backing and fibers. Edges can fray if they aren’t stuck down. Proper adhesion or taping keeps the turf from shifting, greatly increasing how long it will last.
- Looks Good: A well-installed turf floor is flat, with tight seams and clean edges. It gives your gym a professional look. A poorly installed floor with lifting spots or loose seams looks messy and uncared for. Securing synthetic grass indoors properly improves the whole look of the space.
- Protecting Your Investment: Gym turf is not cheap. Spending a little more time and money on the right installation method protects your larger investment in the turf itself. Trying to save money by stapling can ruin the turf or require expensive repairs later.
Caring for Your Gym Turf
Once your turf is installed using one of the proper gym turf installation methods, keeping it clean helps it last even longer.
- Regular Cleaning: Vacuum the turf often to remove dirt, dust, and debris. For deeper cleaning, you can use a mild soap and water solution. Some turf is hoseable, but check the type you have.
- Spot Cleaning: Clean spills quickly to prevent stains. Use a cloth and mild cleaner.
- Avoid Harsh Chemicals: Don’t use strong cleaners or bleach unless the manufacturer says it’s okay.
- Protect from Heavy Point Loads: Avoid dragging very heavy, sharp objects across the turf if possible. Use moving pads if needed.
- Check Edges/Seams: Every so often, walk the edges and seams to make sure they are still secured. Fix any loose spots right away to prevent bigger problems.
Proper installation and care ensure your gym turf stays a safe, functional, and good-looking part of your gym.
Summarizing the Best Ways to Install Gym Turf
To wrap up, stapling down gym turf is not recommended because it damages the turf, doesn’t hold well, creates safety risks, and can void warranties.
The Best way to install gym turf involves proven methods:
- Full or Perimeter Adhesion: Using the right gym turf adhesive for a strong, permanent hold, especially good for Installing gym turf on concrete.
- Double-Sided Tape: Using heavy-duty Double-sided tape for gym turf for a less permanent, cleaner install, good for edges and seams, helps in Securing synthetic grass indoors.
- Loose Lay: Relying on the weight of very heavy turf rolls or mats, often used for Fastening gym floor mats.
- Interlocking Tiles: Using tiles that connect together, providing an easy, portable floor.
These gym turf installation methods provide the necessary security and durability for gym flooring. They show How to secure gym flooring correctly for safety and longevity.
Frequently Asked Questions (FAQ)
Can I install gym turf myself?
Yes, many people install gym turf themselves, especially using tape or interlocking tiles. Gluing requires more care and can be harder, but it is possible for a DIYer with patience and the right tools. Always read the specific turf manufacturer’s instructions.
How long does gym turf installation take?
It depends on the size of the area, the installation method (tape is faster than glue), and your experience. A small area with tape might take a few hours. A large area with full glue could take a day or more, plus drying time for the glue.
What kind of subfloor do I need?
You need a subfloor that is clean, dry, and as flat as possible. Concrete, plywood, and some existing hard floors can work. Soft floors like carpet or thick foam are usually not good subfloors for turf rolls.
What if my subfloor isn’t perfectly flat?
Small bumps or dips might be okay with thicker turf or full glue. But big problems need to be fixed first. Leveling compounds can help make concrete or wood subfloors flat.
Do I need a moisture barrier?
If installing on concrete, it’s often a good idea to test for moisture. If there’s high moisture vapor coming up, you might need a moisture barrier or a special moisture-resistant adhesive.
Can I put gym turf outside too?
Yes, there is artificial turf made specifically for outdoor use. Outdoor turf usually has drainage holes and materials that resist UV rays and weather. The installation methods are similar but might involve different glues or fasteners suited for outdoor conditions.
Is gym turf hot?
Indoor gym turf generally doesn’t get as hot as outdoor turf exposed to direct sun. But it can feel warmer than hard flooring. Thicker turf can also hold some heat.
By understanding the right ways to put down gym turf, you can create a safe, durable, and great-looking workout space. Forget the staples and use methods that actually work!