
So, how do you inflate a yoga ball? You usually inflate a yoga ball, also known as an exercise ball or stability ball, using a special pump that comes with it. This pump can be a small hand pump, a foot pump, or sometimes a basic bicycle pump with the right adapter. You simply insert the pump’s nozzle into the ball’s air plug hole and pump air in until the ball is firm but still has a little give. It’s a simple job once you know the steps. This guide will show you exactly how to get your ball ready for use.
Inflating your yoga ball correctly is important. It makes sure the ball is safe and works right for your exercises. A ball that is too soft or too hard can make your workout harder or even unsafe. Let’s look at everything you need to know to inflate exercise ball and use it safely.
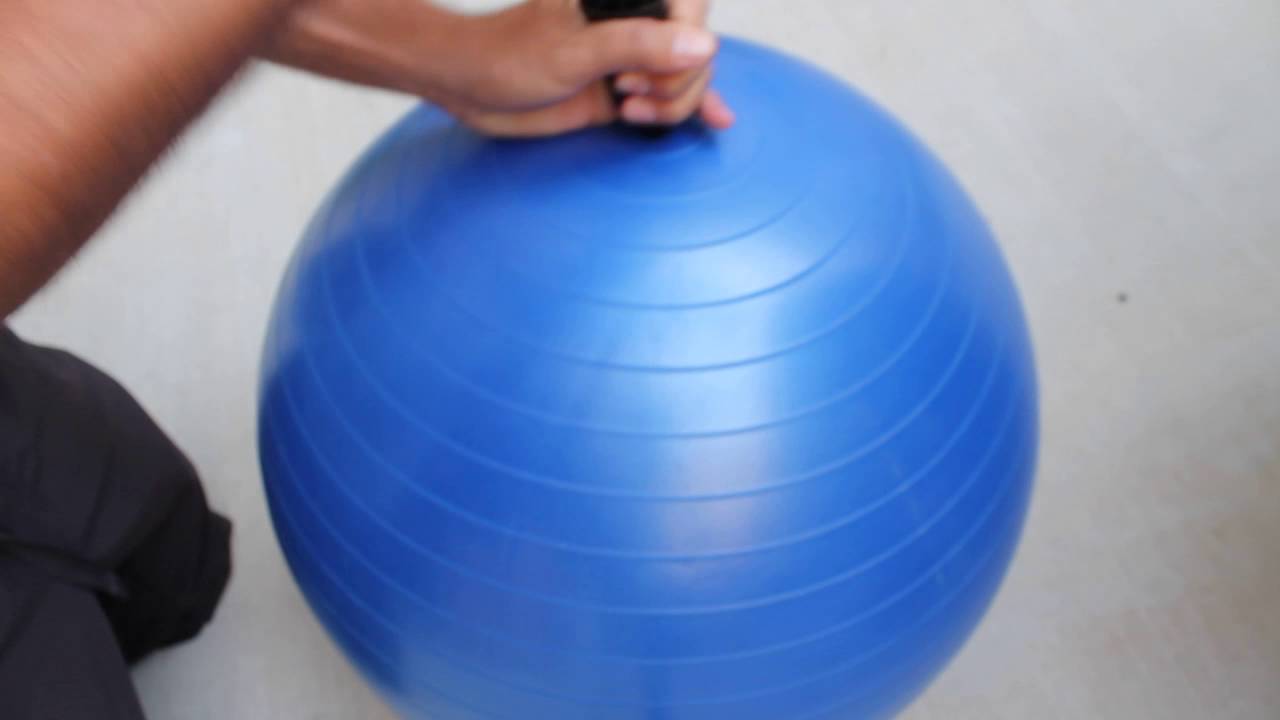
Image Source: i.ytimg.com
Getting Ready to Inflate
Before you start pumping, you need a few things. Make sure you have these ready.
- Your Yoga Ball: Of course, you need the ball itself. Take it out of its box or bag. Let it sit flat for a bit. This helps it warm up and makes it easier to inflate.
- A Pump: Most balls come with a yoga ball pump. This is usually a small plastic hand pump. Sometimes, you might use a foot pump or an electric pump for yoga ball. Make sure your pump is clean and in good shape.
- The Plug: Your ball has a little hole where the air goes in. This hole has a plug that keeps the air inside. Find this yoga ball plug. It’s usually a small plastic peg. It might be loose in the box or already in the ball’s hole. Keep it safe! You will need it right away after you pump.
- A Tool to Remove the Plug (Sometimes): Some balls come with a small plastic tool. This tool helps you pull the plug out when you need to deflate the ball. Keep this tool too.
Sorting Through Pump Types
There are a few types of pumps you might use. Each works a little differently. Knowing which one you have helps you know how to use yoga ball pump.
Hand Pumps
A hand pump for yoga ball is the most common type. It is small and light. You push and pull a handle to move air.
- Pros:
- Usually comes with the ball.
- Small and easy to store.
- Needs no power.
- Cons:
- Takes more work and time to inflate.
- Can be tiring for your arm.
Foot Pumps
A foot pump sits on the floor. You push down with your foot to pump air. Some foot pumps push air when you push down and when you lift up.
- Pros:
- Faster than a hand pump.
- Uses your leg muscles, not just your arm.
- Stable on the ground.
- Cons:
- Can be larger than a hand pump.
- Might not come with every ball.
Electric Pumps
An electric pump for yoga ball plugs into a wall outlet or uses batteries. It pumps air for you.
- Pros:
- Very fast and easy.
- No physical effort needed.
- Cons:
- Needs electricity or charged batteries.
- Can be noisy.
- Costs more and is not usually included with the ball.
- You must watch the ball carefully so you don’t overfill it.
Other Pumps
You might have a bicycle pump or an air mattress pump. These can work. You need the right adapter to fit the ball’s plug hole. Often, the stability ball pump needle or nozzle for a yoga ball is a specific size. Check if your other pump has a nozzle that fits snugly into the ball’s hole.
Step-by-Step Inflation
Here are the yoga ball inflation instructions. We will cover how to do it with different pumps. The steps are mostly the same no matter the pump type.
Steps for Any Pump
- Unfold the Ball: Lay the ball out flat. Let it warm up if it’s cold. This makes the plastic softer and easier to stretch.
- Find the Hole: Look for the small round hole on the ball. This is where the air goes in. If the plug is already in, gently pull it out. You can use the small plastic tool if you have one.
- Attach the Pump: Find the end of your pump that pushes air out. It should have a small, pointy nozzle or a needle (like a stability ball pump needle if it’s a ball pump). Put this nozzle into the hole on the ball. Push it in firmly so it stays.
- Start Pumping: Now, start pumping air into the ball.
- Hand Pump: Push and pull the handle steady.
- Foot Pump: Step on the pump pedal steady.
- Electric Pump: Turn it on and let it run.
- Watch the Size: As you pump, the ball will get bigger. Watch the size. Don’t inflate it all the way to its max size right away. Inflate it to about 80% full at first.
- Wait a Bit: Once it’s about 80% full, stop pumping. Take the pump out. Put the plug into the hole right away to stop air from coming out. Let the ball sit for 24 hours. This lets the material stretch slowly. It helps the ball reach its full size safely.
- Finish Inflating: After 24 hours, remove the plug again. Use your pump to finish inflating the ball. Pump it until it reaches the size listed on the ball or its box. Check how firm it is. It should be firm but still have a little give when you push on it. It should not feel hard like a basketball.
- Put the Plug In: Once you reach the right size and firmness, take the pump out quickly. Grab your yoga ball plug. Push it into the hole as fast as you can. Push it all the way in so it sits flat against the ball’s surface. Make sure it is in tight.
Special Tips for Different Pumps
- Hand Pump: Use smooth, steady strokes. It might take many strokes. Be patient. If your hand gets tired, take a break.
- Foot Pump: Make sure the pump is on a flat surface. Use your body weight on the pedal. This makes it easier.
- Electric Pump: Stay right there while it is pumping. These pumps fill the ball fast. It is easy to overfill the ball. Stop the pump often to check the size and firmness.
Getting the Right Size and Firmness
Knowing the right size for your ball is key. The ball size is usually listed in centimeters (cm). Common sizes are 55cm, 65cm, and 75cm. The right size for you depends on your height.
Checking Your Size
A simple way to check if the ball is the right size and firmness is to sit on it.
- Inflate the ball as described above.
- Sit on the ball with your feet flat on the floor.
- Look at your knees and hips. Your knees should be level with your hips or a little lower. Both your hips and knees should be bent at about a 90-degree angle. This is like a right angle or an ‘L’ shape.
If your knees are much higher than your hips, the ball is too small or not inflated enough.
If your hips are much higher than your knees, the ball is too big or overinflated.
Aiming for the Right Firmness
The ball should be firm, but not rock hard.
- Too Soft: If it feels squishy and sinks a lot when you sit on it, it needs more air. It won’t support you well.
- Too Hard: If it feels very tight and doesn’t give much when you push it, it has too much air. This can be bad for the ball and uncomfortable. It could even pop if it’s way too full.
Pump it just enough so it holds its shape well and supports your weight, while still having a little bounce.
Finding Your Yoga Ball Plug
The plug is a small but very important part. Without it, the air comes right back out!
- Where to Look: The plug is usually found in the box with the ball. It might be in a small plastic bag with the pump or tool. Sometimes, it is already inserted into the ball’s air hole when you get it.
- What it Looks Like: It is a small plastic pin or peg. It might be clear, white, or match the color of the ball. It has ridges on it to help it stay in the hole.
If you cannot find yoga ball plug, look through all the packaging again very carefully. Check inside the box flaps. If you still cannot find it, you will need a new one.
Replacing Your Yoga Ball Plug
It is easy to lose these small plugs. If you cannot find yours or if it gets damaged, you can get a new one.
- Where to Buy: You can often buy replacement plugs online. Look for “yoga ball replacement plug” or “exercise ball plug pin”.
- What to Look For: Plugs come in different sizes. Try to find a plug that matches the size of your ball or the diameter of the air hole. Sometimes plug sets come with a few sizes.
- Replacing Yoga Ball Plug: Simply push the new plug firmly into the air hole after the ball is inflated. Make sure it is pushed all the way in so it is flush with the ball’s surface.
Possible Problems and How to Fix Them
Sometimes things don’t go perfectly when you inflate your ball. Here are some common issues.
Air Leaks While Pumping
- Problem: Air seems to be escaping from around the pump nozzle.
- Fix: Make sure the pump nozzle is pushed firmly into the ball’s hole. It should fit snugly. If it is too loose, you might need a different adapter for your pump or the ball’s hole might be damaged.
Ball Not Getting Firm
- Problem: You are pumping, but the ball stays soft or doesn’t get firm enough.
- Fix:
- Check for leaks around the pump nozzle again.
- Check the ball for any other holes. A small hole will let air out as fast as you pump it in.
- Make sure you waited 24 hours after the first partial inflation. This helps the material stretch fully.
- If using a hand pump, make sure the pump itself is working right. Cover the end of the nozzle with your finger and pump. You should feel pressure building. If not, the pump might be broken.
Ball Seems Too Small
- Problem: You have inflated the ball, but it looks smaller than it should be or feels too small when you sit on it.
- Fix:
- Double-check the size guide for your height and ball size. Maybe you got the wrong size ball.
- Make sure you followed the instruction to inflate partially, wait 24 hours, then inflate fully. This waiting step is important for the ball to reach its intended size.
- Continue pumping until the ball reaches the stated diameter (e.g., 65cm). Measure it with a tape measure if you are unsure. Remember the sit test: knees level with hips at a 90-degree angle.
Ball Seems Too Big or Too Hard
- Problem: The ball looks too large or feels very hard and tight.
- Fix: You likely overinflated it. This can stress the material. You need to let some air out. See the section below on how to deflate yoga ball. Let out a little air at a time until the ball is the right firmness and size.
Learning How to Deflate Your Yoga Ball
There might be times you need to let the air out of your ball. Maybe you need to store it, move it, or you overinflated it. Learning how to deflate yoga ball is easy.
- Find the Plug: Locate the air plug on the ball.
- Remove the Plug: This is the trickiest part sometimes. If your ball came with a small plastic tool for this, use it. The tool usually has a small, flat end with a notch. Slide this notch under the edge of the plug and gently pry it up and out. If you don’t have the tool, you might be able to use a spoon handle or something similar. Be very careful not to poke the ball itself. Do not use sharp items like knives or scissors.
- Let the Air Out: Once the plug is out, the air will start to rush out. You can help it by gently pressing on the ball or rolling it.
- Fold for Storage: If you are storing the ball, get as much air out as possible. You can gently fold it or press it flat.
Care and Keeping Your Ball Safe
Proper care helps your ball last longer and stay safe to use.
- Keep it Clean: Wipe your ball down with mild soap and water if it gets dirty. Avoid harsh chemicals.
- Store Properly: If you deflate it, store it in a cool, dry place away from direct sunlight and sharp objects.
- Check for Wear: Look at the ball before each use. Check for any small cuts, scratches, or weak spots. Do not use a ball that looks damaged.
- Avoid Overinflation: Never inflate the ball past its recommended size or until it feels rock hard. This weakens the material and can cause it to burst.
Summarizing the Inflation Process
Let’s quickly recap the main steps for inflating your yoga ball easily:
- Get your ball, pump (like a yoga ball pump), and plug ready.
- Lay out the ball flat.
- Remove the plug from the ball’s hole if it is in there.
- Insert the pump nozzle (or stability ball pump needle) into the hole.
- Pump air until the ball is about 80% full.
- Quickly put the plug in.
- Wait 24 hours for the material to stretch.
- Remove the plug.
- Pump more air until the ball reaches its full size and is firm but slightly soft. Use the sit test to check size/firmness.
- Quickly put the plug back in tightly.
Following these steps will help you inflate exercise ball correctly and safely.
A Quick Look at Pumps and Their Parts
To better comprehending the tools, here is a small table about pump types:
| Pump Type | How it Works | Speed | Effort Needed | Needs Power? | Common Use |
|---|---|---|---|---|---|
| Hand Pump | Push/pull handle | Slow | High | No | Comes with most yoga balls |
| Foot Pump | Push pedal with foot | Medium | Medium | No | Can be bought separately |
| Electric Pump | Motor runs automatically | Fast | Very Low | Yes | Inflating many items, good for large balls |
| Bicycle Pump | Push handle (needs adapter) | Medium | High | No | Can use if you have the right nozzle |
Most pumps, especially the hand pump for yoga ball, have a nozzle or a stability ball pump needle that fits into the ball’s plug hole. The plug is what seals the hole once the ball is full of air.
Frequently Asked Questions (FAQ)
Here are some common questions people ask about inflating yoga balls.
Q: My yoga ball pump doesn’t seem to be working. What’s wrong?
A: First, check that the nozzle is pushed all the way into the ball’s hole. If air is leaking around it, it won’t inflate well. Next, check the pump itself. On a hand pump, make sure the handle moves smoothly and you feel air coming out the end when you pump. If it feels loose or no air comes out, the pump might be broken. You might need a new yoga ball pump.
Q: How do I know when the ball has enough air?
A: Do the sit test. Sit on the ball with your feet flat. Your knees should be level with or slightly below your hips, bent at a 90-degree angle. The ball should feel firm but not hard. It should have a little give when you push on it. Don’t just inflate until it looks round; check the firmness and height when you sit.
Q: I lost my plug. Can I use something else?
A: It is best to use a proper replacing yoga ball plug. Other things might not seal right or could damage the ball. You can easily buy replacement plugs online.
Q: Can I use a bike pump to inflate my yoga ball?
A: Yes, you can often use a bike pump if it has the right adapter or nozzle that fits snugly into the ball’s air hole. Some bike pumps come with different tips, including one that might work for a yoga ball. The main thing is getting a tight seal so the air goes into the ball, not around the hole.
Q: How long does it take to inflate a yoga ball?
A: It depends on the pump. With a small hand pump for yoga ball, it can take 10-20 minutes of steady pumping. With a foot pump, it might be quicker, maybe 5-10 minutes. An electric pump for yoga ball is fastest, often just a few minutes. Remember the 24-hour waiting step is part of the process, even if the active pumping is fast.
Q: Is it okay to inflate my ball outdoors?
A: Yes, but avoid direct sunlight while inflating. Heat can make the ball material too soft or expand the air too much, leading to overinflation. Also, make sure the area is clean so you don’t get dirt or sharp things near the ball or the pump nozzle.
Q: How often should I add air to my yoga ball?
A: Yoga balls naturally lose a little air over time. How fast this happens depends on how much you use it, your weight, and the air temperature. Check your ball weekly or monthly. If it feels softer than it should be, add a few pumps of air to bring it back to the right firmness.
Q: The instructions say to inflate to a certain size (e.g., 65cm). How do I measure this?
A: Inflate the ball partially, wait 24 hours, then inflate more. As you add the final air, use a tape measure. Measure across the widest part of the ball when it is full. It’s often easiest to measure the height from the floor to the top when the ball is freely standing (not compressed).
Q: What if the ball is lopsided after inflating?
A: This can happen if the material was stored folded for a long time. Inflating it partially, waiting 24 hours, and then inflating fully helps the material stretch evenly. If it’s still a little off, using it for exercises will help the material stretch and become rounder over time. As long as it holds air and feels stable, it’s usually fine.
Inflating your yoga ball does not have to be hard. With the right tools and steps, you can easily get your ball ready for your workouts or sitting needs. Just take your time, use the right pump, and don’t forget that crucial plug!