
Learning how to inflate a yoga ball is easy. You usually use a special yoga ball pump that comes with the ball. Inflating it correctly means getting the right size for your height and filling it just enough so it is firm but still has a little give. This helps you use it safely for exercise.
A yoga ball, also called an exercise ball or stability ball, is a simple tool. But using one that is not filled right can be unsafe. It might not support you well, or it could even pop. This guide shows you how to fill your ball right every time. You will learn how to use a pump, figure out the right size, and keep your ball in good shape.
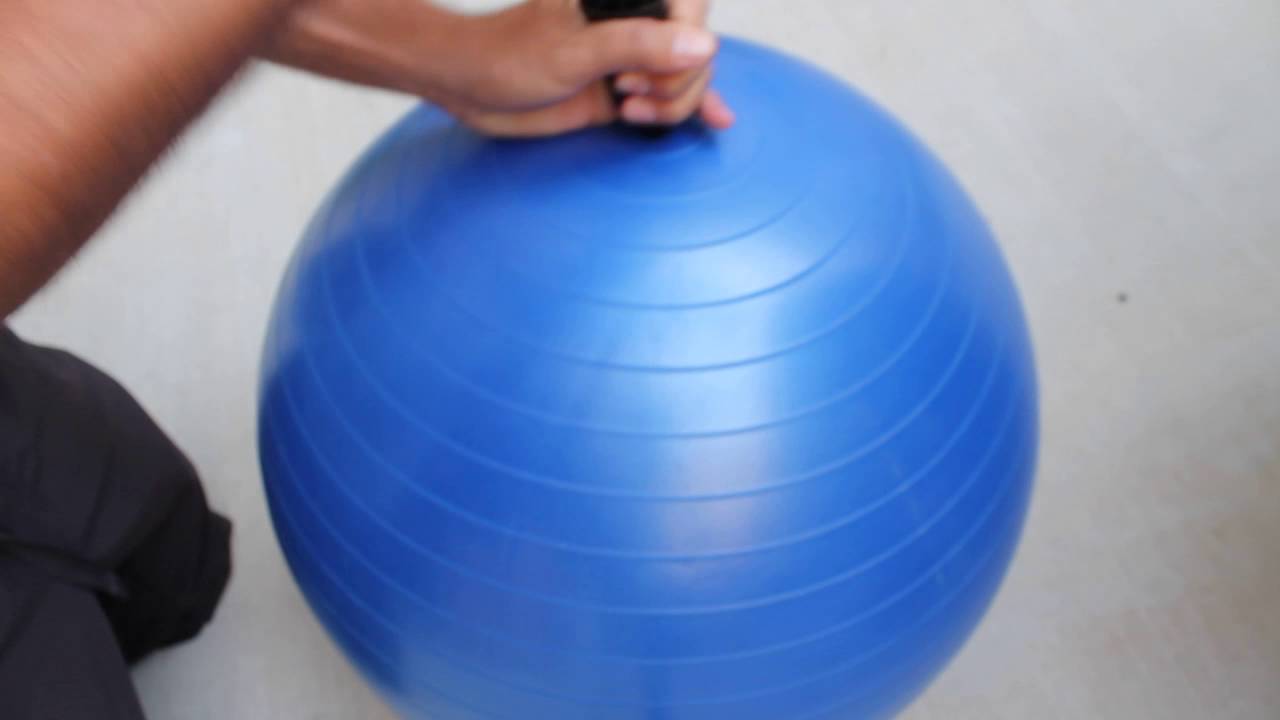
Image Source: i.ytimg.com
Why Getting the Air Right Matters
Filling your yoga ball the right way is key. It is not just about making it big. The amount of air affects how stable the ball is and how it feels to sit or lean on.
- For Safety: A ball with too little air is wobbly and hard to control. A ball with too much air is too hard and might be more likely to burst, especially if you put a lot of weight on it quickly.
- For Your Workout: If the ball is too soft, exercises are harder because you sink into it. If it is too hard, it can feel bouncy and not give you the support you need for stability work. Proper exercise ball inflation makes sure the ball helps you exercise well.
- To Make it Last: Over-inflating can stress the material. Filling it to the right size helps the ball last longer.
Getting the air right for your stability ball size is the first step to using it well.
What You Need to Inflate Your Ball
Before you start filling your ball, get everything ready.
Tools for the Job
You will need a few things.
- Your Yoga Ball: Of course! Make sure it is clean and not damaged.
- A Pump: Most yoga balls come with a pump. This is usually a hand pump or a foot pump. Some people use an electric pump, like one for air beds, but be careful not to overfill. You might also need a special yoga ball needle adapter if your pump is not made for balls.
- The Plug: Your ball came with a small plug to seal the air hole after you fill it. Keep this safe!
- A Way to Measure: A tape measure is best for measuring yoga ball size as you fill it. Some balls come with a paper guide or a line to show the right size.
- Time: Don’t rush. Filling it slowly helps you get it right.
Using the right yoga ball pump makes filling much easier.
Steps to Fill Your Yoga Ball
Now, let’s fill your ball. Follow these steps carefully.
1. Get the Ball Ready
Take the ball out of its box. Let it sit at room temperature for a little while, especially if it was cold. This helps the material become more flexible. Lay the ball out flat on the floor. Find the air plug hole. It is usually a small, round hole with the plug already in it or separate.
2. Take Out the Plug
If the plug is already in the ball, gently pull it out. Sometimes you might need a tool like a spoon handle (not sharp!) or the end of the pump to help pry it out. Keep the fitness ball plug where you won’t lose it.
3. Put the Pump In
Take the nozzle or adapter that fits the air hole on your pump. Push it firmly into the hole on the ball. Make sure it is in deep enough so the air goes into the ball and does not just leak out around the nozzle. If you have a specific yoga ball needle adapter, make sure it is attached to your pump correctly and fits snugly in the ball’s hole.
4. Start Pumping Air
Now, start using your pump.
- Hand Pump: Hold the pump and ball steady. Push and pull the handle in and out. Air goes in on one stroke.
- Foot Pump: Place the pump on the floor. Use your foot to push down on the pedal. Air goes in as you push down.
- Electric Pump: Turn the pump on. Watch the ball closely! Electric pumps fill balls very fast. Be ready to stop quickly.
As you pump, the ball will start to get bigger. It might look lumpy at first, which is normal. Keep pumping steadily.
5. Fill It Mostly Full
Pump until the ball looks like it is mostly full. It might not be perfectly round yet. It might feel a bit soft. This first fill helps the ball stretch out. Don’t pump it all the way hard just yet. Fill it to maybe 80% of its final size.
6. Let It Sit (Maybe)
Some instructions say to fill the ball mostly full, then let it sit for 24 hours. This lets the material stretch fully. After waiting, you then fill it more. This step is good for brand new balls and can help them reach their full size better. If you don’t have time, you can often skip this, but be extra careful not to overfill on the first go.
7. Finish Filling to the Right Size
Now, pump more air into the ball. This time, watch the size carefully. Use your tape measure. Measure the ball’s height from the floor straight up. Compare this to the size listed on the ball or its box. This is how you do measuring yoga ball size correctly.
Pump slowly now, in short bursts. Check the size often. Also, feel the ball. It should be firm when you push on it, but your fingers should still be able to press into it a little bit (about an inch or two). It should not feel like a basketball.
- Too Soft: Your hand sinks in easily.
- Just Right: Firm, but a little soft spot when you push.
- Too Hard: Feels like a rock, you can’t push into it at all.
Stop pumping when it is the right size and feels right. This is proper exercise ball inflation.
8. Get the Plug Ready
Pull the pump nozzle out quickly. Be ready with the fitness ball plug right away! Air will start to escape as soon as the pump is out.
9. Put the Plug In Fast
Push the fitness ball plug into the hole as fast as you can. Push it in firmly so it sits flush or slightly below the surface of the ball. This seals the air inside.
10. Check the Plug and Size Again
Give the plug a firm push to make sure it is in tight. Check the ball’s size one last time. If you lost too much air while putting the plug in, you might need to repeat steps 3-9, adding just a little air.
Congratulations! You have just completed exercise ball inflation.
Finding the Right Size for You
Knowing the right stability ball size is important for safe and effective use. The right size depends mostly on your height. When you sit on the ball with your feet flat on the floor, your knees and hips should be at about a 90-degree angle (a right angle). Your thighs should be parallel to the floor.
Here is a general guide for picking a size:
| Your Height | Recommended Ball Diameter |
|---|---|
| Under 4′ 8″ (142 cm) | 45 cm |
| 4′ 8″ – 5′ 3″ (142-160 cm) | 55 cm |
| 5′ 4″ – 6′ 0″ (163-183 cm) | 65 cm |
| Over 6′ 0″ (183 cm) | 75 cm or 85 cm |
Note: This is a guide. Some people prefer a slightly smaller or larger ball depending on the exercise or their body shape.
Once you have the ball, measuring yoga ball size as you inflate is key. Don’t just guess. Use a tape measure! Measure from the floor to the highest point of the ball when it is freely sitting.
Filling Your Ball Without a Pump
What if you don’t have the small yoga ball pump that came with the ball? Can you inflate exercise ball without pump? Yes, maybe. But it is much harder and might not work as well.
Using Your Mouth
You could try blowing air into the ball using just your mouth. This is very tiring. It also adds moisture from your breath into the ball, which is not great long-term. You would likely need some kind of adapter (like a straw or small tube that fits the hole) to direct the air. This method is usually not enough to make the ball firm for exercise. It might work for a small toy ball, but not a large exercise ball.
Using Other Pumps
You might be able to use other pumps you have around the house.
- Bike Pump: Some bike pumps, especially floor pumps, have different nozzle types. You might find one that fits or can be adapted with a yoga ball needle adapter. Be careful, as bike pumps push air with high pressure, making it easy to overfill.
- Air Mattress Pump: Electric pumps for air mattresses can work, but they are powerful. Watch the ball size constantly and stop very early.
- Vacuum Cleaner (Blow Function): Some vacuum cleaners have a port where air blows out. With the right attachment or a little clever adaptation, you might be able to use this. Again, these are strong, so be very careful.
Using these methods to inflate exercise ball without pump is possible but requires care. The special yoga ball pump is designed for the ball’s specific valve and slower, controlled inflation, which is safest.
Dealing with the Ball Plug
The fitness ball plug is small but very important. It is what keeps the air in!
How to Remove the Plug
To remove the plug, for example, if you need to add more air or deflate the ball:
- Find the plug.
- Use a non-sharp tool like the end of a spoon, a flathead screwdriver (be very careful not to poke the ball!), or the tool that came with the pump.
- Gently pry under the edge of the plug. Lift one side first, then the other.
- Wiggle it out slowly.
Avoid using sharp knives or scissors as you can easily damage the ball or hurt yourself.
Putting the Plug Back In
After filling or adding air, you need to put the plug back quickly:
- Have the plug ready right next to the air hole.
- Pull out the pump nozzle fast.
- Immediately push the plug into the hole.
- Push it in firmly with your thumb until it is all the way in and seals the opening.
Replacing Your Yoga Ball Plug
If you lose or damage your fitness ball plug, you need to replace it. You cannot use the ball safely without it.
- Check the ball’s brand. Many brands sell replacement plugs.
- Look online for universal exercise ball plugs. Make sure the size matches the hole on your ball. They are often sold in packs with different sizes.
- You can buy kits that include a new plug and often a basic yoga ball pump and perhaps a yoga ball needle adapter.
Don’t try to use makeshift plugs. They will likely leak air or could pop out during use, which is dangerous. Replacing yoga ball plug with the correct one is essential for safety.
Fixing Problems: Air Leaks
What if your ball keeps losing air? You might have an air leak in yoga ball. This needs to be fixed before you use it.
Checking for Leaks
- Listen: Inflate the ball fully. Sit quietly with the ball. Listen very closely near the plug and all over the ball’s surface for a hissing sound.
- Feel: Hold your hand close to the plug and surface. Can you feel air coming out?
- The Soap and Water Test: This is the best way to find small leaks.
- Mix some dish soap with water in a bowl.
- Pump the ball up fully.
- Dip a sponge or cloth in the soapy water.
- Wipe the soapy water all over the ball, starting around the plug, then covering the whole surface.
- Watch for bubbles forming on the ball’s surface. If you see a spot where bubbles keep appearing, that is likely the leak.
Fixing a Leak
- The Plug: Most leaks happen around the fitness ball plug. Make sure the plug is pushed in all the way and is not damaged. If it is damaged, you need a new one (replacing yoga ball plug).
- Small Holes/Punctures: Some balls come with a patch kit, like a bike tire patch kit.
- Clean the area around the leak well.
- Let it dry fully.
- Follow the patch kit instructions. You usually apply glue, then the patch.
- Let the patch dry completely before adding air.
- Larger Holes or Seam Leaks: If the hole is big, or the leak is on a seam where the ball pieces are joined, the ball might not be fixable. Using a ball with a bad seam leak is dangerous. It is better to replace the ball.
An air leak in yoga ball means it cannot hold proper exercise ball inflation, making it unsafe. Fix it or replace the ball.
Important Safety Tips for Inflation
Filling your ball safely is just as important as using it safely.
- Use the Right Pump: The yoga ball pump that came with your ball is usually the safest tool.
- Don’t Overfill: Never inflate the ball past the recommended stability ball size. Overfilling stresses the material. The ball should be firm but still have a little give.
- Inflate on a Clean Surface: Make sure the floor is clean and free of sharp objects that could puncture the ball while you are filling it.
- Keep Pets Away: Claws can easily damage a yoga ball during inflation or use.
- Check for Damage First: Before you even start, look over the ball for any small cuts or holes. Do not inflate a damaged ball.
- Supervise Children: Keep children away from the ball and pump during inflation. The plug is small and can be a choking hazard.
Proper exercise ball inflation includes following these safety steps.
Keeping Your Ball Ready to Go
Once your ball is filled correctly, a little care keeps it in good shape.
- Keep it Clean: Wipe it down now and then with mild soap and water. Avoid harsh chemicals.
- Store it Right: Keep it away from extreme heat or cold. Don’t store it in direct sunlight for long periods. Avoid storing it near sharp things.
- Check the Air: Balls naturally lose a little air over time. Check the firmness and size now and then. Top it off with your yoga ball pump as needed to maintain proper exercise ball inflation.
- Check the Plug: Make sure the fitness ball plug is always pushed in tightly.
- Check for Leaks: If the ball feels soft, do the soap and water test to check for an air leak in yoga ball before adding more air.
Taking good care of your ball means you can use it safely for a long time. Knowing how to handle things like replacing yoga ball plug or finding an air leak helps a lot.
Frequently Asked Questions
Here are answers to some common questions about filling yoga balls.
h4: How full should a yoga ball be?
It should be firm but have a little give. You should be able to push your fingers into it slightly. It should be inflated to its recommended diameter for your height (check the size chart above). When you sit on it, your hips and knees should be at 90-degree angles.
h4: Can I use a different pump?
Yes, you might be able to use other pumps like a bike pump or air mattress pump. However, be very careful as they can inflate the ball too fast, leading to overfilling. The small hand or foot yoga ball pump that comes with the ball is often the safest and easiest to control. You might need a special yoga ball needle adapter for some pumps.
h4: How do I find the size of my ball?
The size (diameter in cm) is often printed on the ball itself or on its packaging. If not, inflate it partially and use a tape measure to check the diameter as you add air. Compare this to standard sizes (45cm, 55cm, 65cm, 75cm, 85cm). Measuring yoga ball size accurately during inflation is important.
h4: My ball won’t inflate fully, what’s wrong?
First, check if the pump nozzle is pushed in far enough. Check for an air leak in yoga ball using the soap and water test. If it is a new ball, you might need to fill it partially, let it sit for 24 hours to stretch, and then finish filling. If it still won’t hold air, the ball might be damaged or have a bad valve seal.
h4: What if I lose the plug?
You cannot use the ball safely without the plug. You need to buy a replacement fitness ball plug. Look for one from the ball’s brand or a universal replacement plug that fits the hole size. Replacing yoga ball plug is important for safety.
h4: Is over-inflating dangerous?
Yes. Over-inflating stresses the ball’s material and makes it more likely to burst, especially if weight is suddenly applied. Always inflate only to the recommended stability ball size and firmness.
h4: How often should I add air?
Balls lose air slowly over time. Check your ball’s firmness and size every few weeks or before each use. Add air using your yoga ball pump whenever it feels soft or looks smaller than its correct size to maintain proper exercise ball inflation.
Wrapping Up
Filling a yoga ball seems simple, but doing it the right way matters a lot for safety and how well it works. By using the correct yoga ball pump, measuring yoga ball size as you go, and knowing how to handle things like the fitness ball plug or an air leak in yoga ball, you can keep your ball in great shape. Remember to always aim for proper exercise ball inflation for your specific stability ball size. Follow the steps, be careful, and you will be ready to enjoy your ball safely every time.